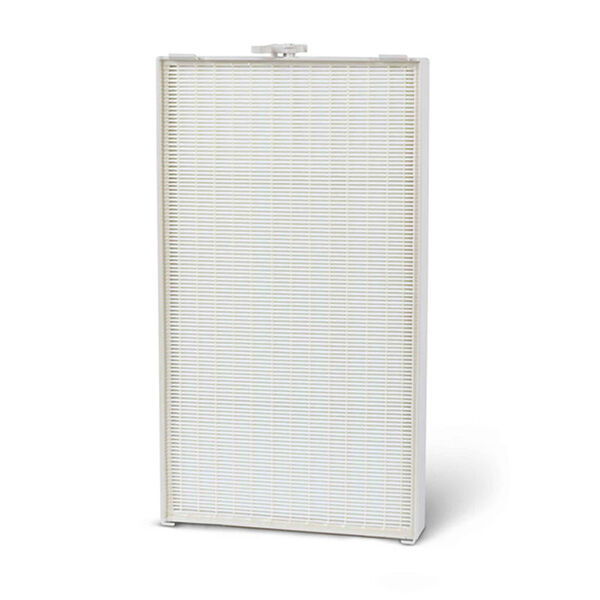
Replacement HEPA filter for Atmosphere Sky with advanced 99.99% particle removal.
What It Does For You
- Removes 99.99% of particles as small as 0,0024 µm (microns) – better than a standard HEPA which filters 99.97% no smaller than 0.3 µm (microns).
- Effective removal of dust, allergens, viruses, bacteria and pollens from the air.
- Replace when prompted to quality for Atmosphere Sky’s Renewable Warranty. More details are to find in Owners Manual.
Why You Would Like It
The Atmosphere Sky Air Treatment System uses a three-stage filtration process for maximum effectiveness. This second-stage HEPA filter effectively eliminates a variety of airborne contaminants, including dust, allergens, viruses, bacteria and pollens. Advanced design offers better-than standard HEPA performance – removing 99.99% of particles as small as 0,0024 µm (microns). Standard HEPA filters removing 99.97% no smaller than 0.3 µm (microns). Keep your HEPA air filter purifier operating at its best by replacing its filters when prompted by the unit.
Facts For You
- The second stage of the Atmosphere Sky unit filtration for effective removal of dust, allergens, viruses, bacteria and pollens.
- Removes 99.99% of particles as small as 0,0024 µm (microns), which are so harmful because of their microscopic size – too small to be eliminated by most of the standard filters.
- HEPA air filtration is recommended for allergy and asthma sufferers.
Key Features
- Easy to remove and install in seconds
- Replace when prompted by the Atmosphere Sky unit and Atmosphere Connect App.
- Register replacement filter installation to qualify for the additional 365 days of Renewable Warranty coverage commence on the date of filter installation and registration.
How To Use
1. Power off and unplug the unit.
2. Remove the front cover of the unit by placing your fingertips under the upper most edge of the front shield, gently pull up on the shield to disengage (should hear snap) then lift the shield off the unit.
3. Remove the Pre-Filter/HEPA by disengaging the lock at the top of the HEPA Filter.
4. Gently lift the Pre-Filter from the HEPA Filter by lifting from the tabs located at the top of the filter screen. Set the Pre-Filter aside; you may want to clean your Pre-Filter at this time even if the light is green.
5. Remove your new HEPA Filter from the packaging.
6. Install your new HEPA filter into your unit, reengage the lock at the top of the filter.
7. Reattached the Pre-Filter by placing the slots at the top of the filter to the tabs on the top of the HEPA filter.
8. Replace the front shield by positioning the shield over the display and let it gently fall into place engaging the magnets on the bottom of the shield. Then gently push until you hear a soft snap at the middle of the shield at the upper most edge of the display
9. Plug in your unit.
10. The HEPA Filter monitor light will automatically change from red to green.
You will be also noticed by the Atmosphere Connect App, where you can track filters’ life.

